Android App Promotion

Having released 9 android apps over the past few months and trying various methods of promotion along the way I thought I’d share my experiences with the various promotion methods I’ve used, and the results I’ve had from them.

The first few games I released, I didn’t do any promotion as such, except for posting on various forums descriptions of the games and links to the app store. These games predictably didn’t storm the charts and have plodded along at an average of around between 2 – 10 installs per week.

So more recently I decided to try to gain some extra exposure, and I used a couple of the services provided on https://www.fiverr.com/ where for a small fee $10 – $20 in my cases, my apps would be mentioned on blogs and Facebook pages that have hundreds of thousands of daily views.

Unfortunately I didn’t notice any increase in installs for the apps involve so I didn’t think these were worth the money spent.


APKFiles

The next service I looked at was a company called APKFiles www.apkfiles.com which lists free games on their site, with the option to pay and have your app stay at the top of the list.

For $10 dollars your app can stay at the top of the list for 200 downloads ($0.05 per download), so I signed up, uploaded my apk and paid my $10.00.

The site statistics quickly started counting up the downloads, and within 24 hours the whole 200 had completed. However, my analytics website showed no increase in new users or app activity, therefore I have to assume that either their site statistics are fake or wildly inaccurate, or that there is an appalling low download/install ratio.
In any event, I decided not to use APKFiles again and wouldn’t recommend them.


AdMob

For my latest game I decided to step it up and use create an AdMob campaign. On the face of it this looked like a good prospect. It’s a well known service, the pricing model is CPC (cost per click), and I could set a click cost as little as 1p per click and also a daily maximum budget. There was no up front payment required, and no minimum length of time for the campaign to run.
So I went ahead and created a campaign to run for a month, at 1p per click and a £5.00 budget per day (500 clicks per day), which I thought sounded reasonable, assuming I hit my maximum budget every day the whole campaign would cost around £150.00.
Results went as follows:-

Day 1
32265 ad impressions before I hit my 500 click daily limit, took about 30 minutes.
App installs 12

Day 2
31156 ad impressions before I hit my 500 click daily limit, took about 30 minutes again.
App installs 5

Day 3
34156 ad impressions before I hit my 500 click daily limit, once again took about 30 minutes.
App installs 7

So after 3 days, I’d had 24 installs total, at a cost of £15.00, meaning each install was costing me £0.63. Not exactly the result I was hoping for. I can only assume that the vast amount of clicks on my ad were not from people that were interested in installing my game, and that AdMob doesn’t do a very good job of filtering out accidental clicks.
Anyway, at this point I decided that a cost per click promotion wasn’t going to work out cost effective for me and I suspended my AdMob campaign.


AppBrain

Still in search of an effective promotion method, I did some Googling and found a number of posts that mentioned a cost per install service run by a company called AppBrain.

With this service you pay a minimum of $0.20 (approx. 14p) per install, irrespective of the number of impressions your ad has.

You need to credit your account in advance (min $100, approx. £72.00), which due to the good reports I’d read I decided was worth the risk, at $0.20 this will give a guaranteed 500 installs by the time your $100 budget is used. You can set your daily limit to be a percentage of your whole budget, or leave it unlimited to get as many installs per day as possible.
This all sounded good, so I set my daily budget to the whole $100 campaign budget, and waited to see what happened.
The difference compared to AdMob was, to say the least, astounding, within minutes I had thousands of ad impressions, hundreds of clicks and 20-30 installs, already eclipsing the 3 day AdMob campaign.

Results were as follows:-
Day 1
672,343 Impressions, 9573 clicks
App Installs 500

This was much more along the lines I was expecting, and if anything it generated installs at a faster rate than I was expecting based on my minimum bid of $0.20 for my ad campaign.
The daily install rate continuing on from then is up around 30 – 40 per day, which easily eclipses the 1-2 per day that I usually get, so the initial ad campaign seems to have boosted the performance going forward too.

So to sum up, out of the methods I have used AppBrain was by far the best, and whilst I still haven’t produced the million seller I’m after, it still represents, to my mind at least, pretty good value for money and is the best way I’ve found to promote my apps so far.

In addition to the promotion service they also do a monetization service through ads, which I haven’t tried yet, plus you can track the store rating for your apps in all the countries it has been downloaded. All in all a pretty decent service.

If you want to try this service out for yourself you can find it here http://www.appbrain.com

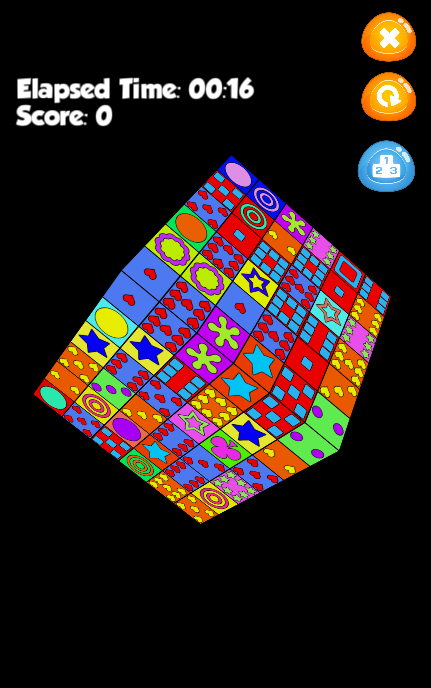
My latest game Cubeology can be found here if you want to take a look.

Cubeology Released

Released our latest game today, Cubeology.

Get it on the Play Store

Unity web player version available here

Cubeology is a 3D picture cube matching game in which you select pairs of cubes with matching designs to remove them, until there are no cubes left.

It has 5 different game types, which can be played in either a cube layout or a sphere layout, with either free or fixed rotation, making for 18 game variations in total.

It has separate Google Play leaderboards for each of the 5 different game types.

Colourful graphics, catchy soundtrack and addictive gameplay make this a fun game that you keep coming back to time after time.

Standard Game
———————
Select pairs of matching cubes until there are none left. Earn extra points by matching multiple pairs in quick succession. No time limit.

Timed GameImage3
——————
Select pairs of matching cubes until there are none left. Initially there is a 15 minute time limit in which to finish the cube. The time limit decreases by 30 seconds every time you successfully complete a game, or it increases by 30 seconds if you fail to complete the game in time.

Speed Cube
—————–
A fast paced game with a smaller 3×3 cube block and a 30 second time limit. How quickly can you clear the cubes, quick thinking and fast reactions will be required to top the leaderboard.

Cube Builder
——————
The idea of this game is different in that you start off with just a few cubes and more are added as time goes by. The rate that cubes are added increases as time passes and the game is over when the block is fully rebuilt. Your goal in this game is to keep the block from being completed as long as possible and in doing so earn as many points as you can. As in the standard game extra points are awarded for matching pairs in quick succession.

Picture Search
——————–
This is a memory version of the standard game, in which all the designs are hidden and are only revealed when you click on the cubes. If you select two cubes that match they are removed as usual, otherwise the pictures are hidden again.

In all versions of the game that award points, making incorrect matches will deduct some points.

Scene Transition/Screen Fader Tutorial Part 2

Welcome to part two of my screen fader tutorial. In this part I will provide a short demonstration of how you might use the screen fader to smoothly transition between scenes.

I’ll add two scenes to the project, with different title text and background colour, so it’s obvious when the scene has changed, and a single button in the middle of the screen which will be used to make the scene change.

I’ve added a small script to the button, which exposes an Object property to the editor, into which I drag the scene that I would like the button to load when clicked. Note: any scenes that are to be loaded at runtime must be added to the build settings in the editor.
Build Settings

This button script is how an inexperienced Unity programmer might approach it, but it won’t work properly and if you try it you’ll see that the scene change happens immediately with no fade in or out.

The reason for that is that as soon as the fade out function is called Unity moves immediately onto the next line of code and executes it, this stops the fade out and loads the next scene. It then goes on to start the fade in function, which has no effect as the screen isn’t faded out.

So how do we prevent execution of the line after the fade out call until we are ready for it? One way would be with coroutines, but this can easily get messy and means that we can’t keep all our code in one function. So this is where the callback argument of the fadein/fadeout functions comes into play.

With the above in mind we could write our button code like this instead:-

So now we have separated the fadeout function call from the load scene and fadein function calls, and put them in a separate function. We have then provided the new function as the callback argument for the fadeout routine.

Now if you run the program and click the button you’ll see that it works exactly as it should, the original screen fades out, and then the new scene smoothly fades into view.
This is because now the fadeout routine is executing and only when it’s finished does it invoke the callback function which loads the new scene and fades it back in.

This is much better, in as much as it actually works. However earlier I mentioned that a disadvantage of using coroutines to achieve the same was that we couldn’t contain everything in one function, and you’ll probably have noticed by now that this solution suffers from the same problem.

We can fix that however by writing the callback function inline in the fadout function call, this isn’t strictly speaking necessary, but in a lot of instances it can keep the code simpler and easier to follow in my opinion.

So this is the final version of the button script:-

As you can see the whole process is now contained within a single 7 line script, with execution of the scene change and fadein delayed until the fadeout function has finished. I’ve also added a 0.5f second delay to the fadein function call as I think it looks better with a slight extra delay.

That’s it for this tutorial, as always any and all comments or suggestions are welcome. See you next time.

Unity project file