
Part 1
Welcome to my basic tutorial for Photon Unity Networking (PUN). In this tutorial we’ll look at how to download and install the PUN package into your project, and over the course of a number of parts we’ll develop a small multiplayer game that demonstrates some of the core concepts that are required to make a networked game.
The tutorial assumes you are on a Windows PC, have a reasonable level of familiarity with both C# and the Unity interface and little or no experience with programming networked games.
For this tutorial we will use the free version of PUN, however if you are using PUN+ there should be no difference in how it works, but please feel free to let me know if there are any inconsistencies and I will make appropriate notes in the tutorial accordingly.
We will also be making use of some of the assets from the Unity Tanks Tutorial, I will provide download links for the specific assets when it is appropriate.
Part 1a – Creating the project and downloading and installing the PUN SDK
The first thing we need to do is create a new project, I’m going to call it PUN Tutorial, however you can use whichever name you like.
Once you’ve created the new project and have it open in Unity, open the Asset Store Window (Ctrl + 9) and search for Photon Unity Networking. The first match should be the free version of Photon Unity, so click on the Download button, and when it’s finished downloading, click on the import button in the asset store window. When the import dialog opens up in Unity, make sure everything is selected and then click the import button. Strictly speaking you could un-tick the demos folder as we won’t be using anything in it, however it has some excellent example code which is well worth a look if you are just starting out with networking, so we’ll leave it in.
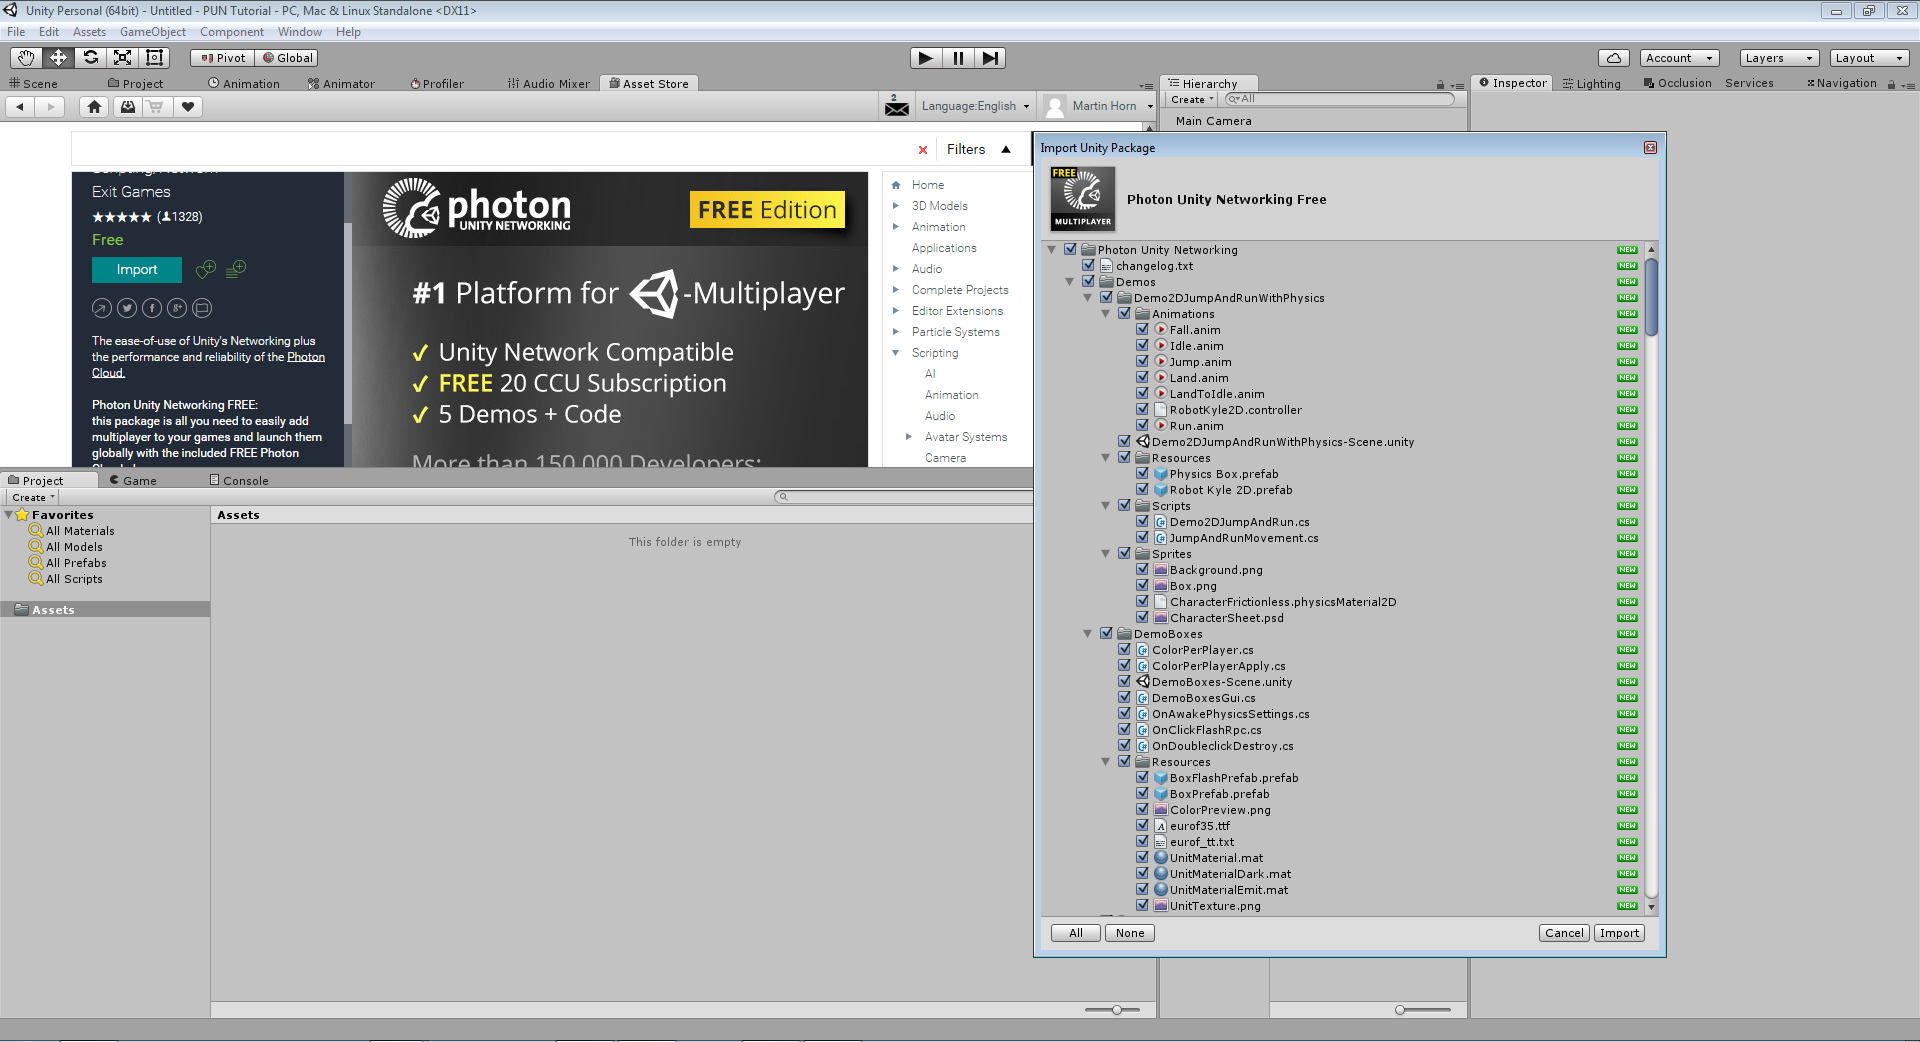
If you are unable to find PUN free in the store by searching, here is the current link to the Asset Store Page Photon Unity Networking Free.
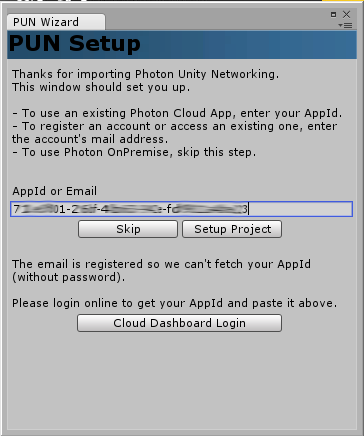
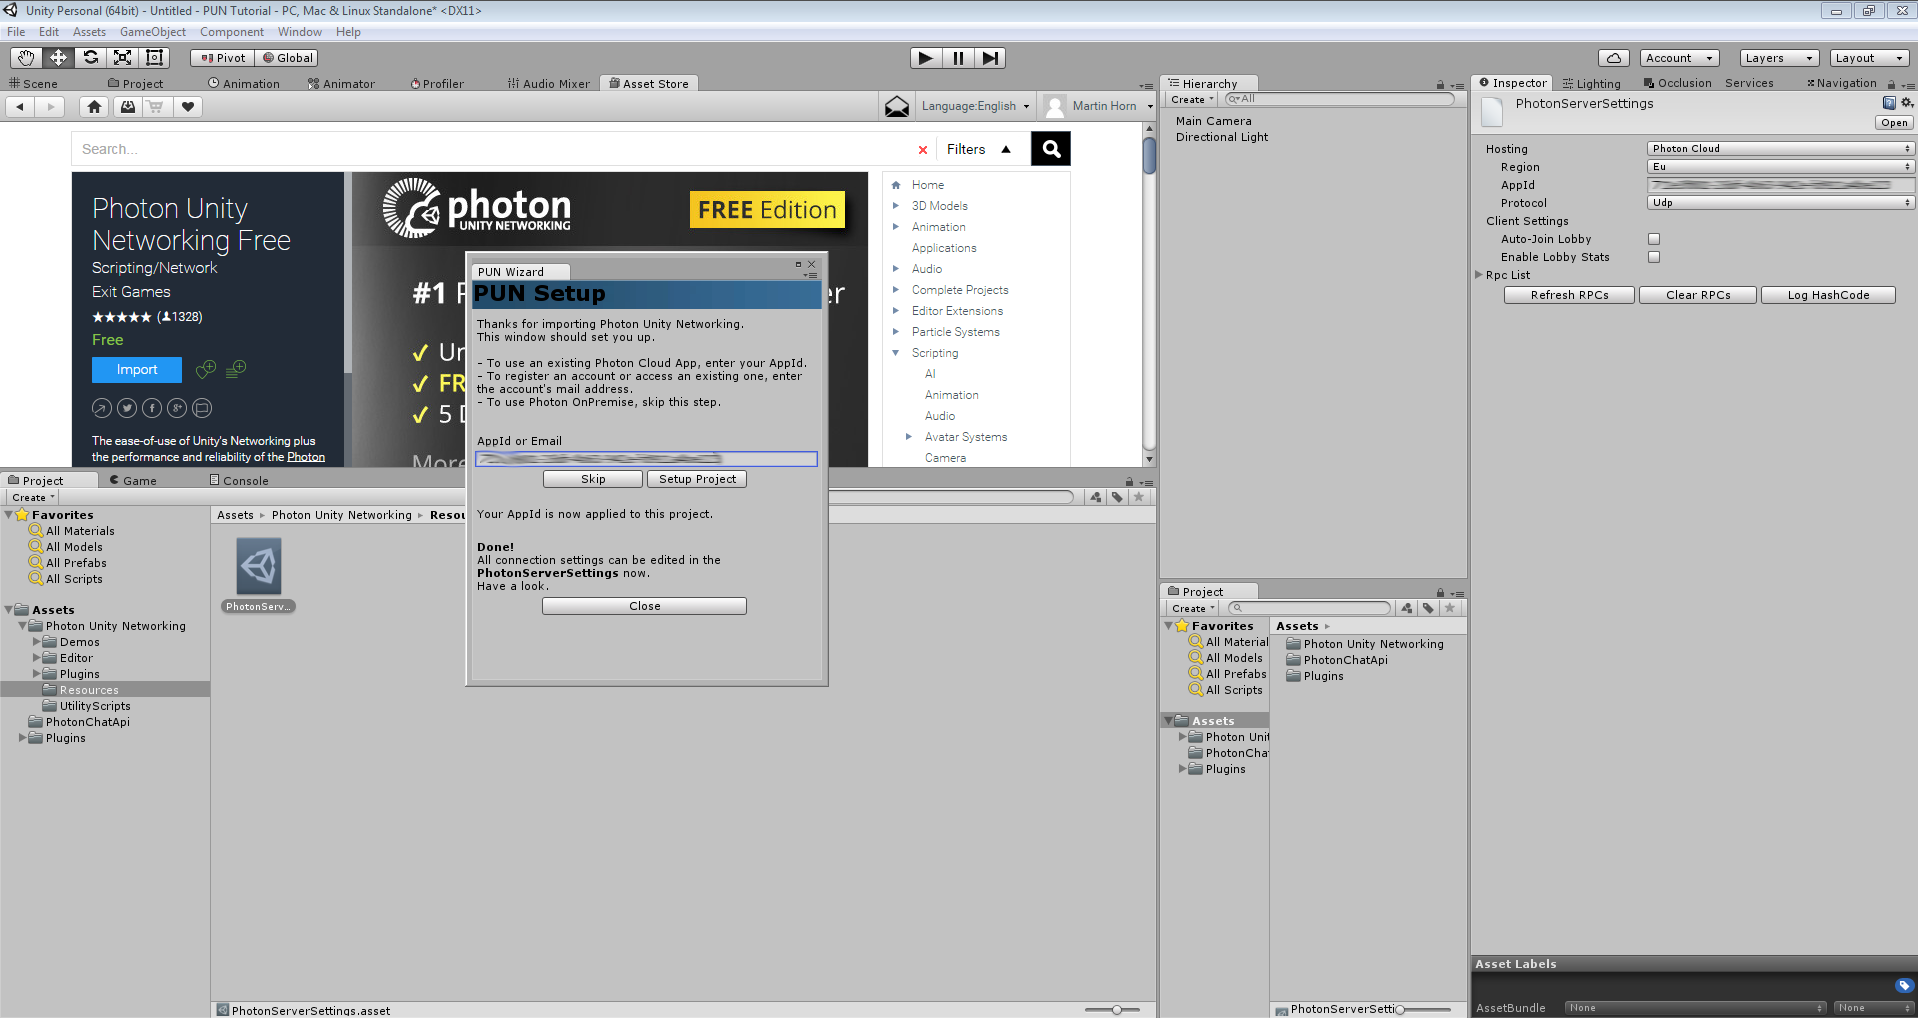
Depending on the speed of your PC, it will take a minute or two to import everything, and once it’s done it will pop up the PUN Wizard dialog as so:-
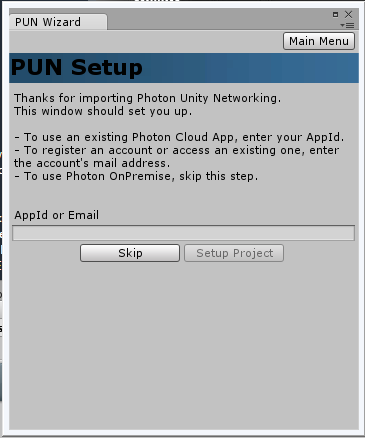
If you already have an AppID or registered email, you can enter them now, but I’m going to assume you haven’t used PUN before and I’ll go through the process of creating a new account and setting up your first project.
Enter the email you would like to use in the box labelled AppID or Email and click setup project. It should respond with a message that the email isn’t registered and give you the option to open the cloud dashboard.
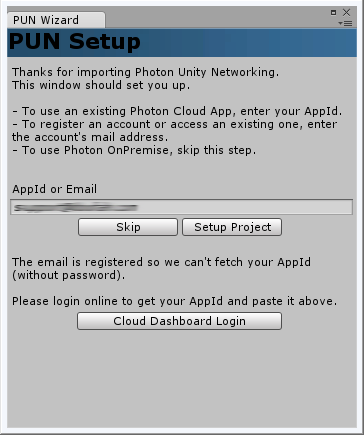
Click on the Cloud Dashboard Login button, and it will open up the Photon sign in page.
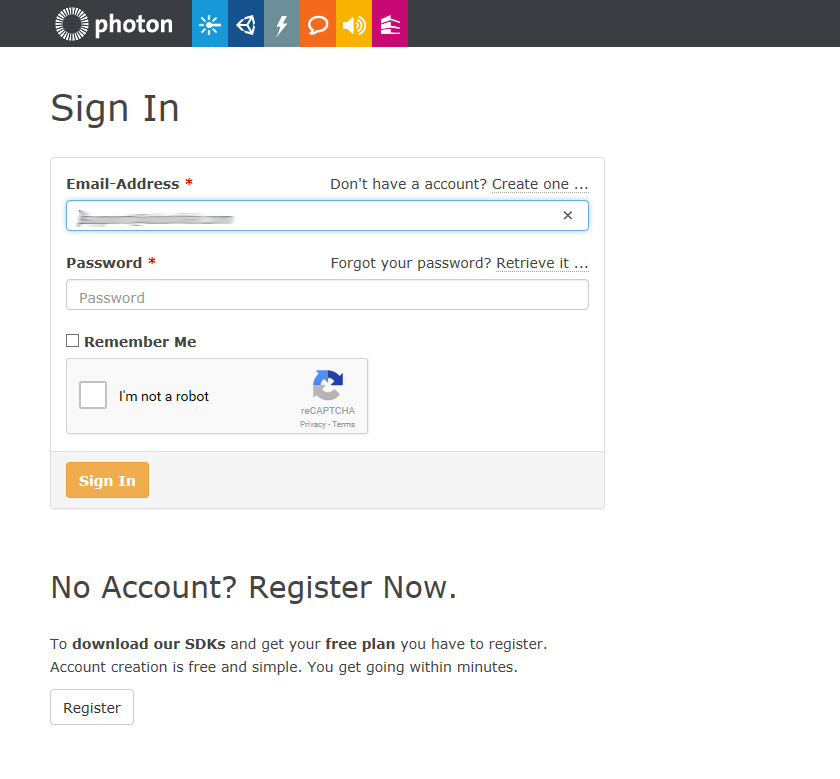
Click on the Register button, then enter the email address you want to register and click the orange Register button. You will be sent an email which contains an activation link, which you need to click on to set your account password and start using Photon.
Having created your password and activated your Photon account, switch back to Unity and click on the Cloud dashboard Login button on the Pun Wizard dialog. This will open a browser window where you can login to Photon with the email and password you specified in the previous steps.
Once logged in you’ll be taken to your dashboard, where you’ll find Photon has already created an app for Photon Realtime for you, with your registered email address as the app name. This will be where you can add and manage all your network apps using PUN.
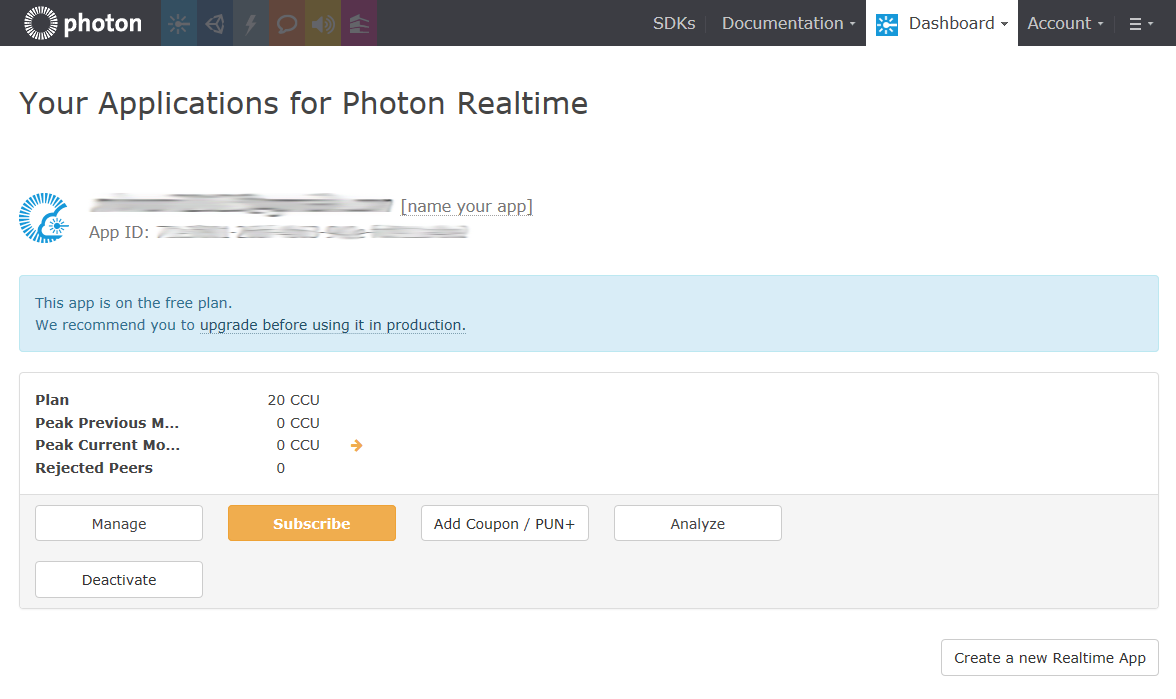
Obviously we would prefer a better name for our app, so click where it says [name your app] and enter a new name, I chose Doofah PUN Tutorial, but you can call it whatever you like. It doesn’t have to be the same name as your Unity project, but keeping it similar will make things easier later on if you have a lot of network projects, you can also give it an optional description at this point if you like.
Once you’ve renamed the app and clicked save you will be taken to this screen:-
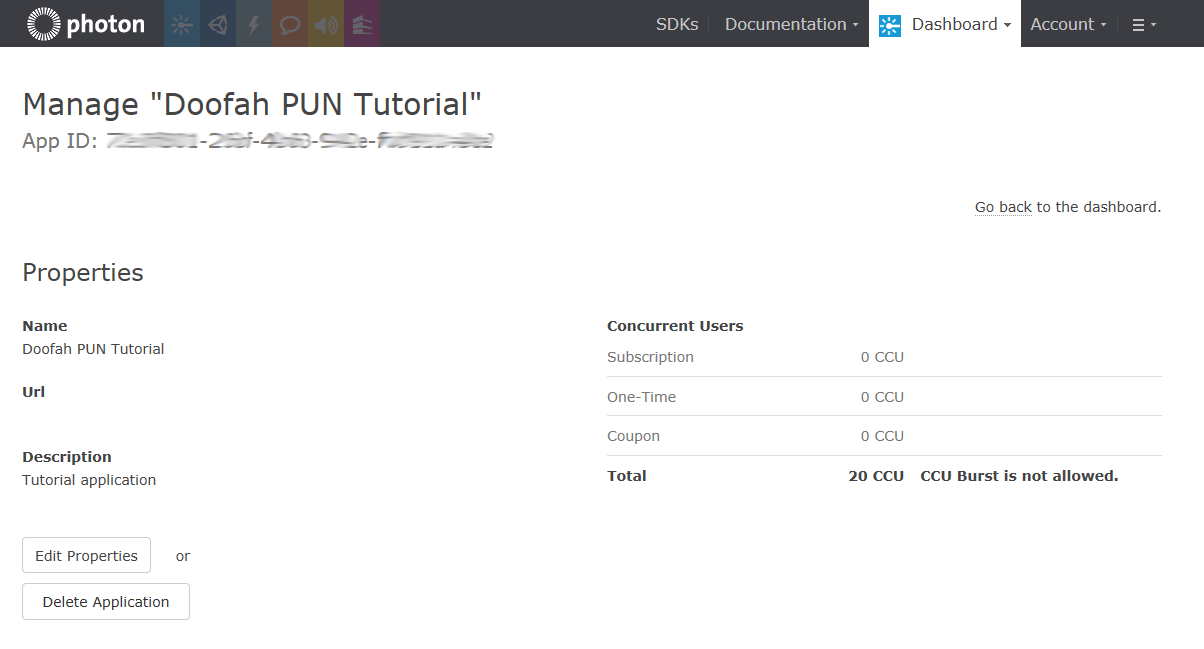
We’ve nearly finished on the Photon dashboard for now, all we need to do is copy to the clipboard the long app ID beneath the app name, so we can paste it into Unity.
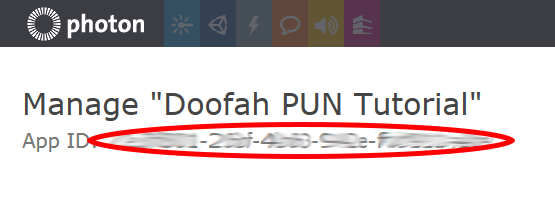
So having selected and copied the app ID, switch back to Unity and paste it into the box labelled AppID or Email, then click the Setup Project button.
Assuming you’ve done everything as above, your project should now be setup for networking with Photon, and your photon server settings should be automatically selected ready for you to edit them. For now the only setting you might want to change is the region, you can click the drop down and select the region closest to where you are located.
So that’s it for the setup of the project and getting it ready for Photon networking, in the next part we will begin the creation of the actual game.
See you next time.
This tutorial is excellent! Thank you for it!
I can’t just wait to see the next part (5).