
Welcome to part two of my screen fader tutorial. In this part I will provide a short demonstration of how you might use the screen fader to smoothly transition between scenes.
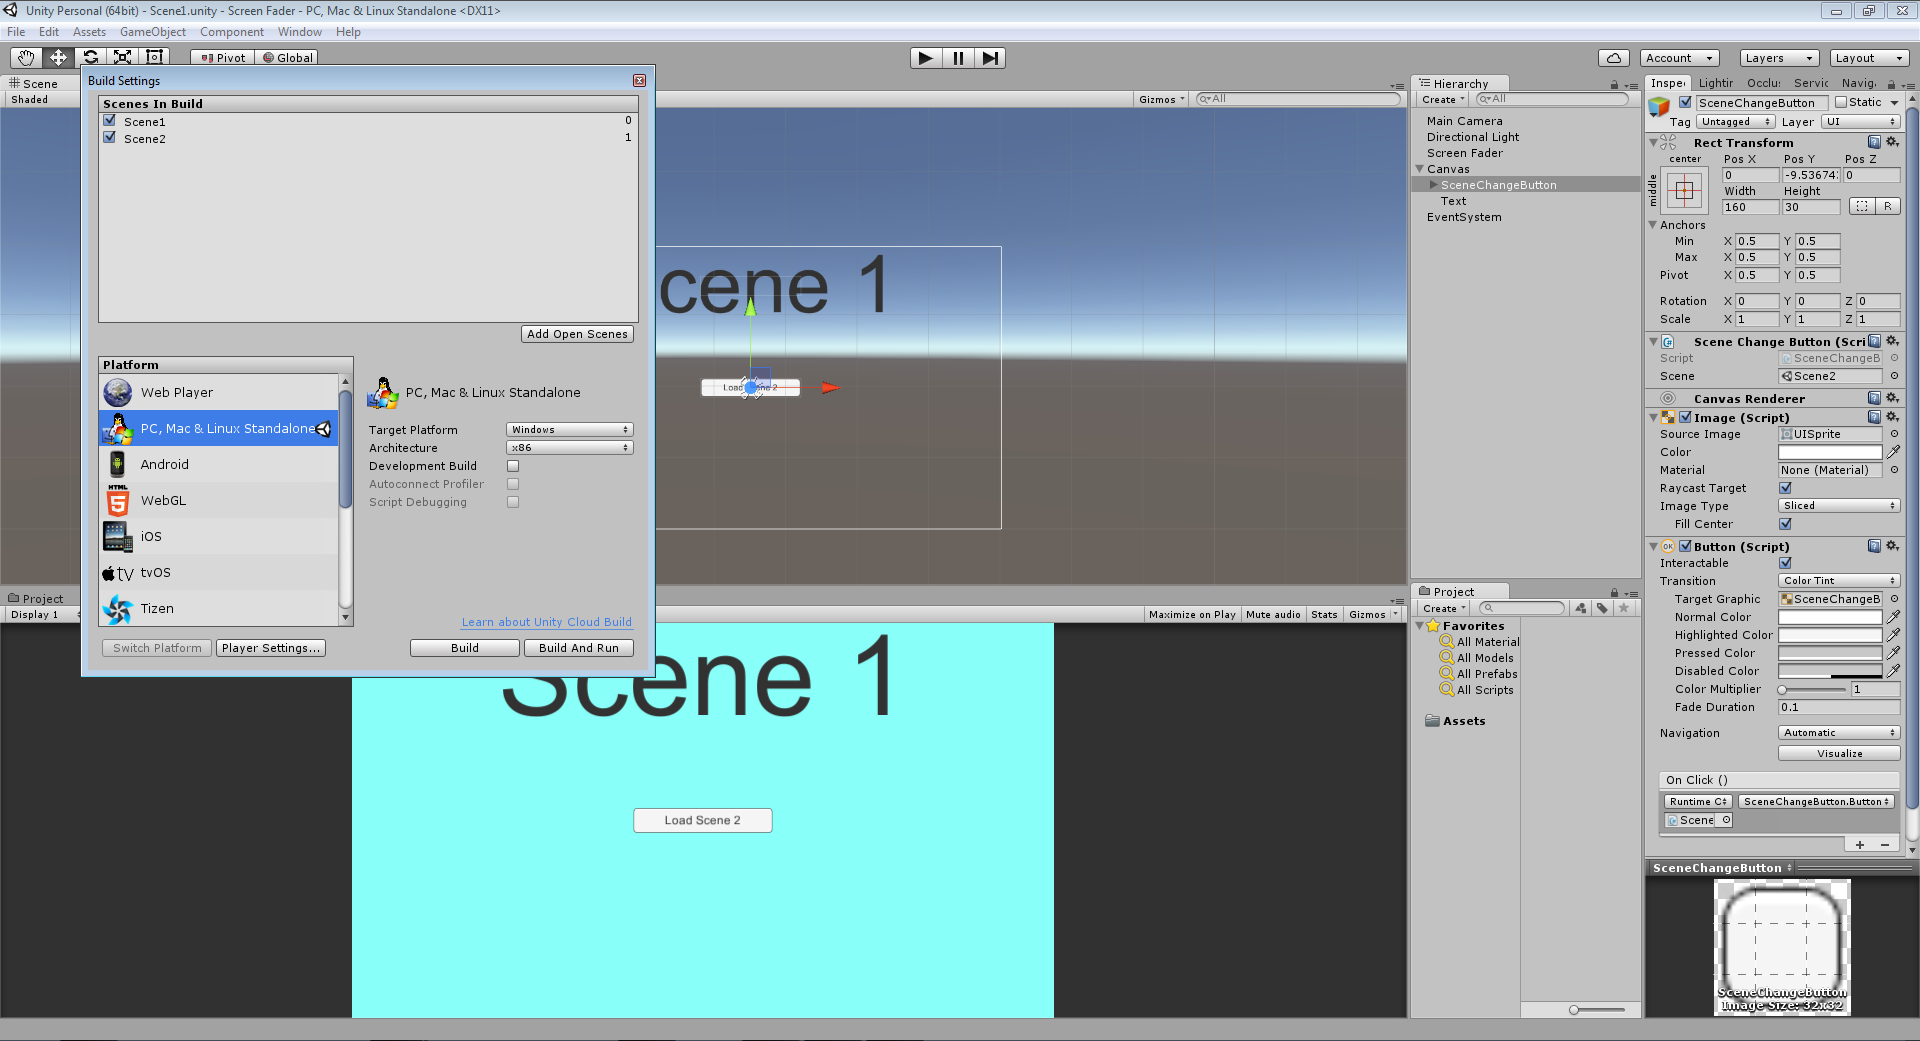
I’ll add two scenes to the project, with different title text and background colour, so it’s obvious when the scene has changed, and a single button in the middle of the screen which will be used to make the scene change.
I’ve added a small script to the button, which exposes an Object property to the editor, into which I drag the scene that I would like the button to load when clicked. Note: any scenes that are to be loaded at runtime must be added to the build settings in the editor.
This button script is how an inexperienced Unity programmer might approach it, but it won’t work properly and if you try it you’ll see that the scene change happens immediately with no fade in or out.
The reason for that is that as soon as the fade out function is called Unity moves immediately onto the next line of code and executes it, this stops the fade out and loads the next scene. It then goes on to start the fade in function, which has no effect as the screen isn’t faded out.
So how do we prevent execution of the line after the fade out call until we are ready for it? One way would be with coroutines, but this can easily get messy and means that we can’t keep all our code in one function. So this is where the callback argument of the fadein/fadeout functions comes into play.
With the above in mind we could write our button code like this instead:-
So now we have separated the fadeout function call from the load scene and fadein function calls, and put them in a separate function. We have then provided the new function as the callback argument for the fadeout routine.
Now if you run the program and click the button you’ll see that it works exactly as it should, the original screen fades out, and then the new scene smoothly fades into view.
This is because now the fadeout routine is executing and only when it’s finished does it invoke the callback function which loads the new scene and fades it back in.
This is much better, in as much as it actually works. However earlier I mentioned that a disadvantage of using coroutines to achieve the same was that we couldn’t contain everything in one function, and you’ll probably have noticed by now that this solution suffers from the same problem.
We can fix that however by writing the callback function inline in the fadout function call, this isn’t strictly speaking necessary, but in a lot of instances it can keep the code simpler and easier to follow in my opinion.
So this is the final version of the button script:-
As you can see the whole process is now contained within a single 7 line script, with execution of the scene change and fadein delayed until the fadeout function has finished. I’ve also added a 0.5f second delay to the fadein function call as I think it looks better with a slight extra delay.
That’s it for this tutorial, as always any and all comments or suggestions are welcome. See you next time.